
How to Enable Push Notifications for Tracked Emails
Learn how to enable push notifications for tracked emails across desktop, mobile, and browser. Step-by-step setup for Gmail, Chrome, and Mail Tracker for Gmail.
You enabled notifications, sent a tracked email to an important prospect, and kept waiting for the open alert. Gmail shows the message was sent, yet your desktop stays quiet and your phone displays nothing. That frustrating outcome usually doesn’t mean the tracking feature failed. It means one permission or suppression layer is still blocking the signal.
Learning how to enable push notifications for tracked emails requires more than clicking “Allow.” The browser, operating system, Gmail, and tracking service each control part of the delivery path. This guide walks through the setup in that order, then focuses on the less obvious settings that stop alerts after users believe everything is enabled.
Why Push Notifications Fail Even After You Enable Them
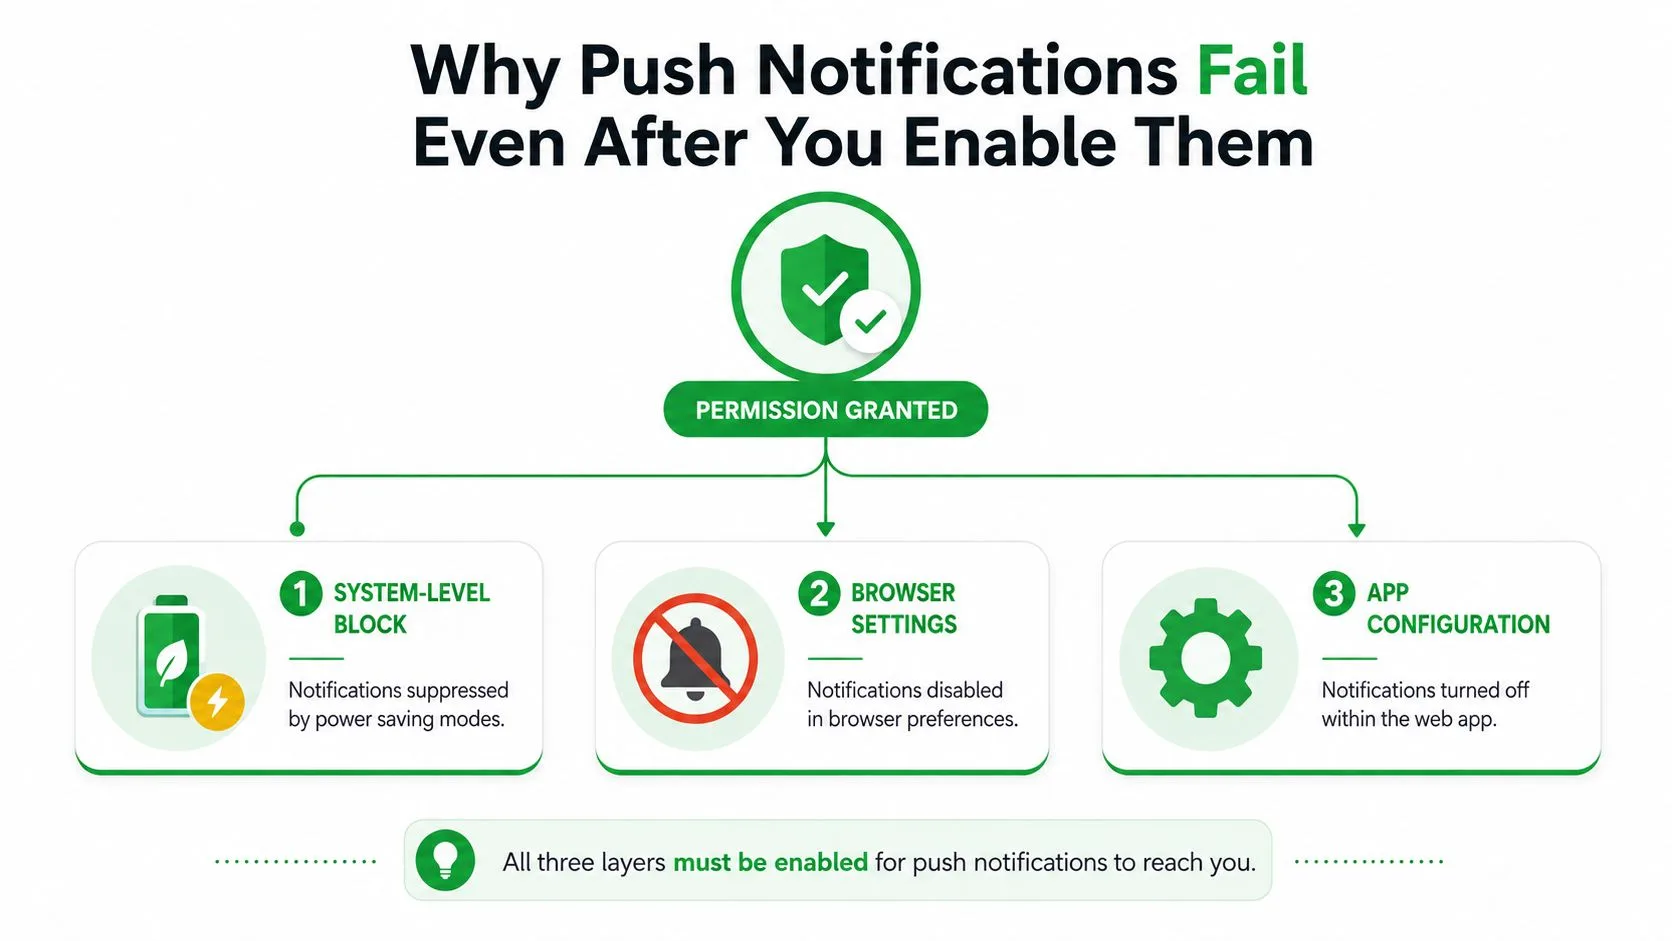
A push notification can fail at several points. The website may have permission, while Chrome blocks notifications globally. Chrome may allow the site, while Windows or macOS suppresses alerts. Gmail may be configured correctly, while a phone’s battery controls prevent the app from working reliably in the background.
Push notifications became a mainstream mobile capability when Apple introduced Apple Push Notification Service with iOS 3.0 in 2009, followed by Google’s mobile push approach in 2010. Browser push arrived later, with Google becoming the first browser vendor to support browser push notifications in December 2014, as described in this history of push notification development. The modern system is therefore a layered platform capability, not one universal switch.
Check each permission layer
Use this order when an open alert doesn’t arrive:
- Browser permission: Confirm the Gmail or tracking site is allowed to send notifications.
- App configuration: Check Gmail and the tracking extension’s own notification controls.
- Operating system permission: Make sure the browser or Gmail app can display banners, sounds, and notification-center alerts.
- Suppression settings: Review Focus, Do Not Disturb, battery saver, low power mode, and manufacturer power managers.
- Delivery health: Check whether the device or browser is still registered correctly for push delivery.
A permission prompt only confirms one layer. It doesn’t override a blocked notification channel, a quiet-hours rule, or background restrictions. Platform behavior also varies considerably. A 2026 industry summary reported median opt-in rates of 81% on Android and 51% on iOS, with an overall rate of 60%, while a separate 2025 benchmark reported global mobile opt-in around 61%, Android at 67%, and iOS at 56% in push notification benchmark coverage. Those differences show why the same workflow can behave differently across devices.
Practical rule: Treat “permission granted” as the beginning of diagnosis, not proof that delivery works.
For cross-device workflows, also review the service’s browser and mobile behavior rather than assuming that a desktop setting carries over to a phone. The cross-platform compatibility guidance is useful when your sales process moves between Gmail in a browser and Gmail on mobile.
Enabling Browser Notifications on Desktop
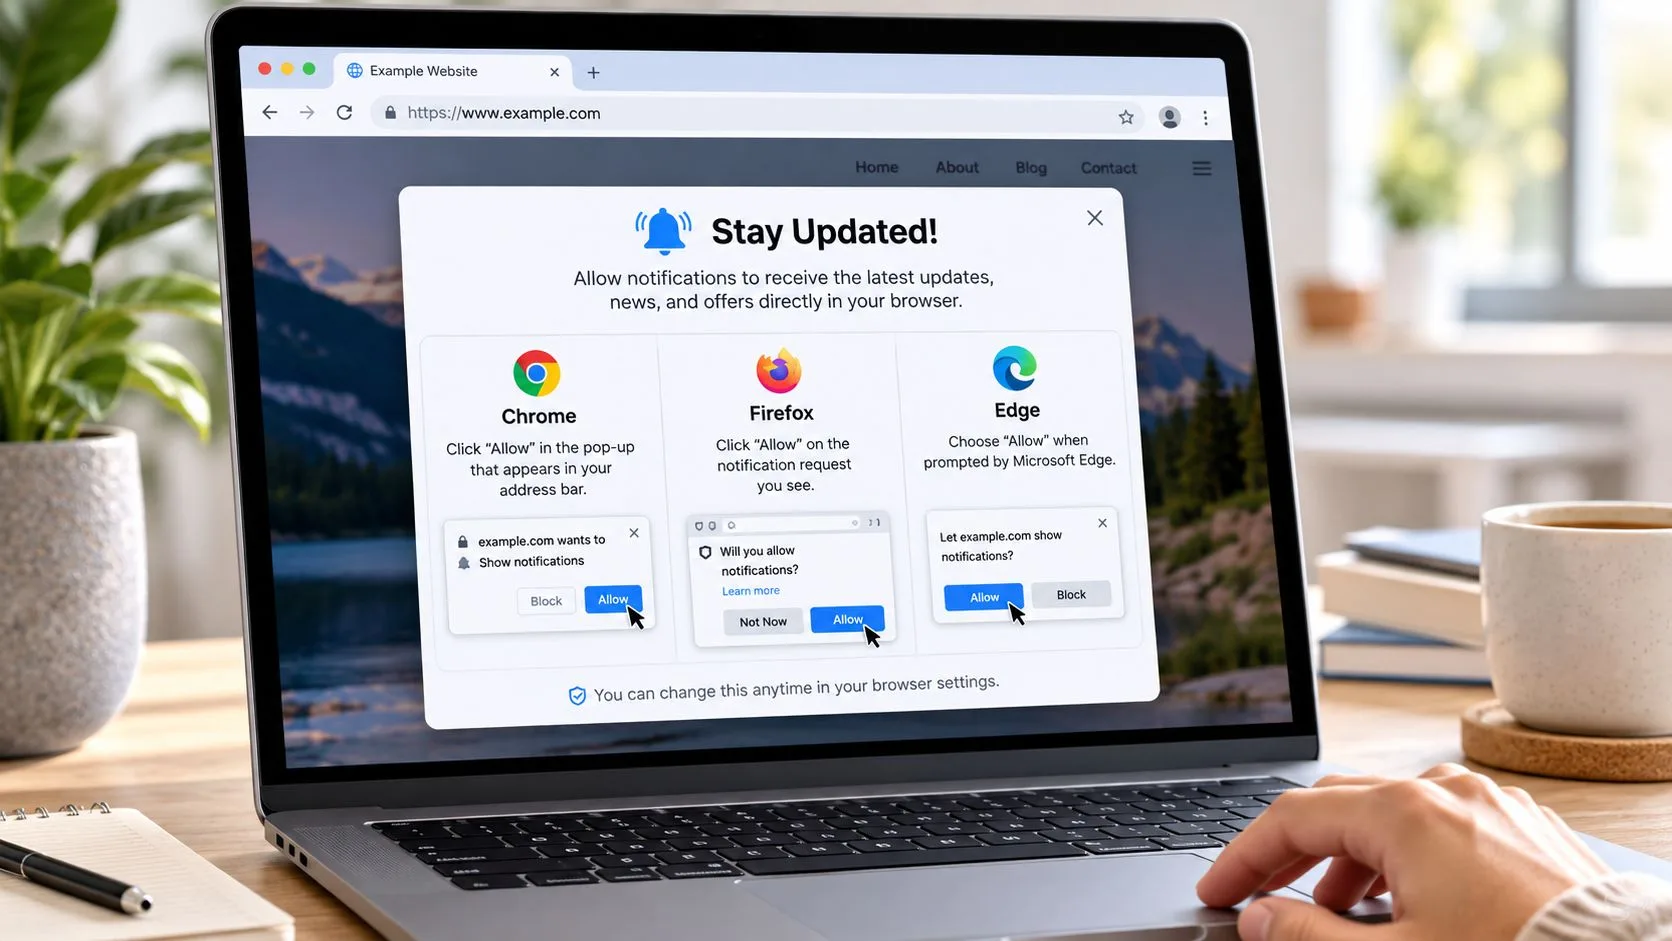
Desktop alerts won’t appear until the browser grants the website permission to display them. Start with the browser you use for Gmail, then test the exact site where your tracked-email workflow runs.
Chrome
In Chrome, open the three-dot menu and select Settings. Go to Privacy and security, choose Site settings, then select Notifications. Chrome lets you set the default behavior for site notifications and review the Allowed to send notifications list, as explained in this Chrome notification permission guide.
If Gmail or the tracking site appears under blocked sites, open its entry and change the notification setting to Allow. You can also open the site, select the icon to the left of the address bar, choose site settings, and change notifications there. Site-specific permission takes precedence over the browser’s general default for that domain.
Firefox and Edge
Firefox uses a similar control path. Open the menu, choose Settings, select Privacy & Security, scroll to Permissions, find Notifications, and click Settings. Locate the Gmail or tracking domain, change its status to Allow, and save the change. If you previously dismissed the prompt, you can restore access here.
In Microsoft Edge, open the three-dot menu, choose Settings, select Cookies and site permissions, then Notifications. Review the allow and block lists, and move the relevant site into the allowed list. Edge can also expose the permission from the address-bar site information panel.
A prompt may not appear again after you select Block or dismiss it. Don’t keep refreshing Gmail expecting a new prompt. Change the saved site permission manually, reload the page, and then test with a tracked message.
Watch the walkthrough after checking at least one substantive setting in the browser:
For a clean test, keep the browser open, confirm the site is allowed, and send a tracked email to an address you can access. A successful test should produce both the tracking event inside Gmail and the desktop notification. If Gmail updates but no banner appears, investigate operating-system notification settings next. If neither updates, check the extension or account configuration before changing browser permissions again.
Setting Up Gmail Web and Mail Tracker for Gmail Notifications
Gmail has its own desktop notification setting, separate from the browser permission. Open Gmail, select Settings, choose See all settings, and scroll to Desktop notifications. Select New mail notifications on for broader inbox alerts, or select Important mail notifications on when you only want important messages. Google notes that the important-mail option is available to users with Priority Inbox, as detailed in Gmail desktop notification instructions.
Click Save Changes at the bottom of the page. Gmail’s native alert tells you about incoming mail. A tracked-email alert serves a different purpose, notifying you when a recipient opens a message that you sent. Turning on Gmail’s new-mail alert doesn’t automatically configure open-event notifications.
Configure the tracking workflow
Install the Mail Tracker for Gmail extension through the Google Workspace Marketplace or its Chrome extension route, sign in with Google, and approve the requested notification access. The product name is descriptive, Mail Tracker for Gmail, and shouldn’t be confused with the broader product category “mail tracker for Gmail” or “email tracker for Gmail.”
Inside Gmail, look for the tracking controls attached to the compose window or sent message. Before sending, confirm tracking is enabled. After the recipient opens the message, the Gmail interface should show tracking indicators such as double check marks, an open count, or a timestamp, while the notification layer produces a real-time alert.
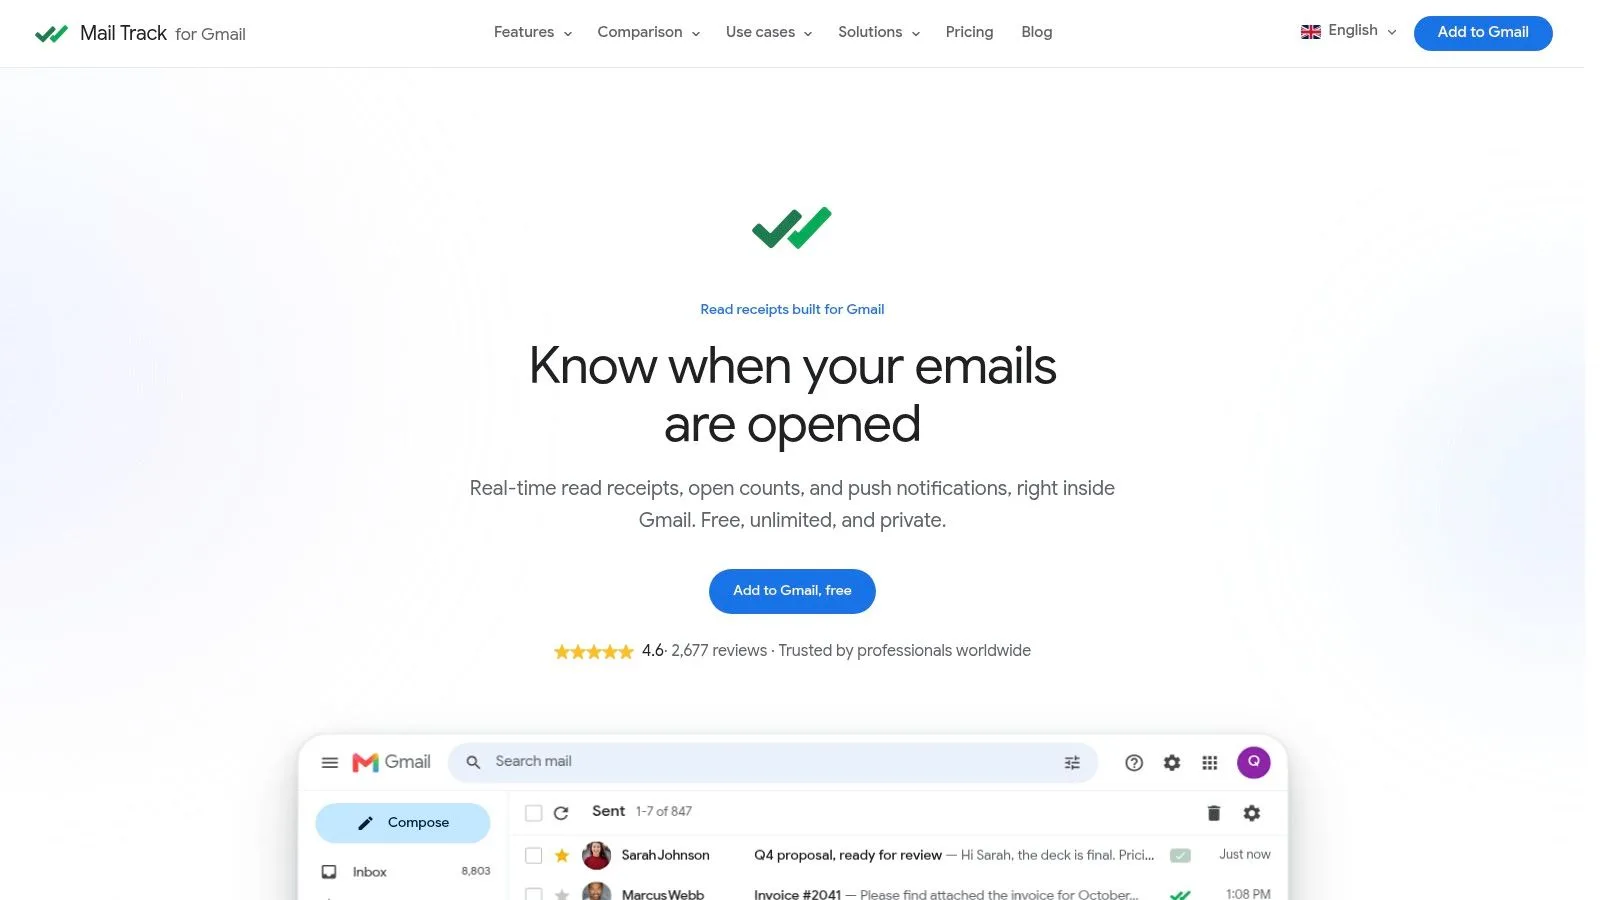
The product’s free email tracker for Gmail provides the relevant tracking controls inside Gmail rather than requiring a separate sales dashboard. That embedded workflow matters because you can verify the event in the same thread where you sent the message.
Test the entire chain: Send a tracked email to yourself, open it from another browser or device, and verify the in-Gmail event before judging the push alert.
Keep the test controlled. If you send to yourself and open from the same session, browser caching or an already active tab can make the result confusing. Check the sent message, the tracking indicator, the browser notification, and the operating-system notification center. Each result tells you which layer is working.
Configuring Mobile Notifications on Android and iOS
Mobile setup has two separate control points: the Gmail app’s notification preferences and the device’s system permission. Configure both, then check whether battery or Focus rules override them.
Android setup
In the Gmail app, open Menu, select Settings, choose General settings, then tap Manage notifications. Android’s Gmail controls let you turn All Gmail notifications on or off and customize the types of notifications you receive, according to Google’s Android notification instructions.
Next, open Android’s system settings, find the app or browser, and confirm notifications are permitted. Review individual notification channels as well. Android can leave general notifications enabled while silencing a specific account, category, or alert type, so inspect the channel that corresponds to the message you expect.
Battery optimization is a frequent source of delayed alerts. If the device offers unrestricted or optimized background activity choices, test the browser or Gmail app with a less restrictive setting. The right choice depends on the phone model and your battery priorities, but reliability requires allowing the app to maintain its background connection.
For more device-specific detail, use this guide to Android application notification settings.
iPhone and iPad setup
On iPhone or iPad, first open the device’s Settings app and select Gmail under notifications. Enable permission for alerts, then choose whether banners, sounds, and notification-center entries should appear. Inside Gmail, open Menu, select Settings, choose Notifications, and then open Email notifications to select the notification level, following Google’s iOS and iPadOS notification instructions.
Focus modes can silence or delay alerts even when Gmail is allowed. Check the active Focus profile, scheduled summaries, and notification grouping if an individual open alert seems to disappear into a consolidated stack. Low Power Mode and background restrictions can also affect how quickly apps refresh, so compare behavior with those controls disabled during testing.
Troubleshooting Silent Notification Failures
When setup looks correct, diagnose the failure by asking where the signal stops. If the tracking event appears in Gmail but no alert appears, focus on browser and OS presentation. If the tracking event itself never appears, check the tracked message, extension session, and account connection.
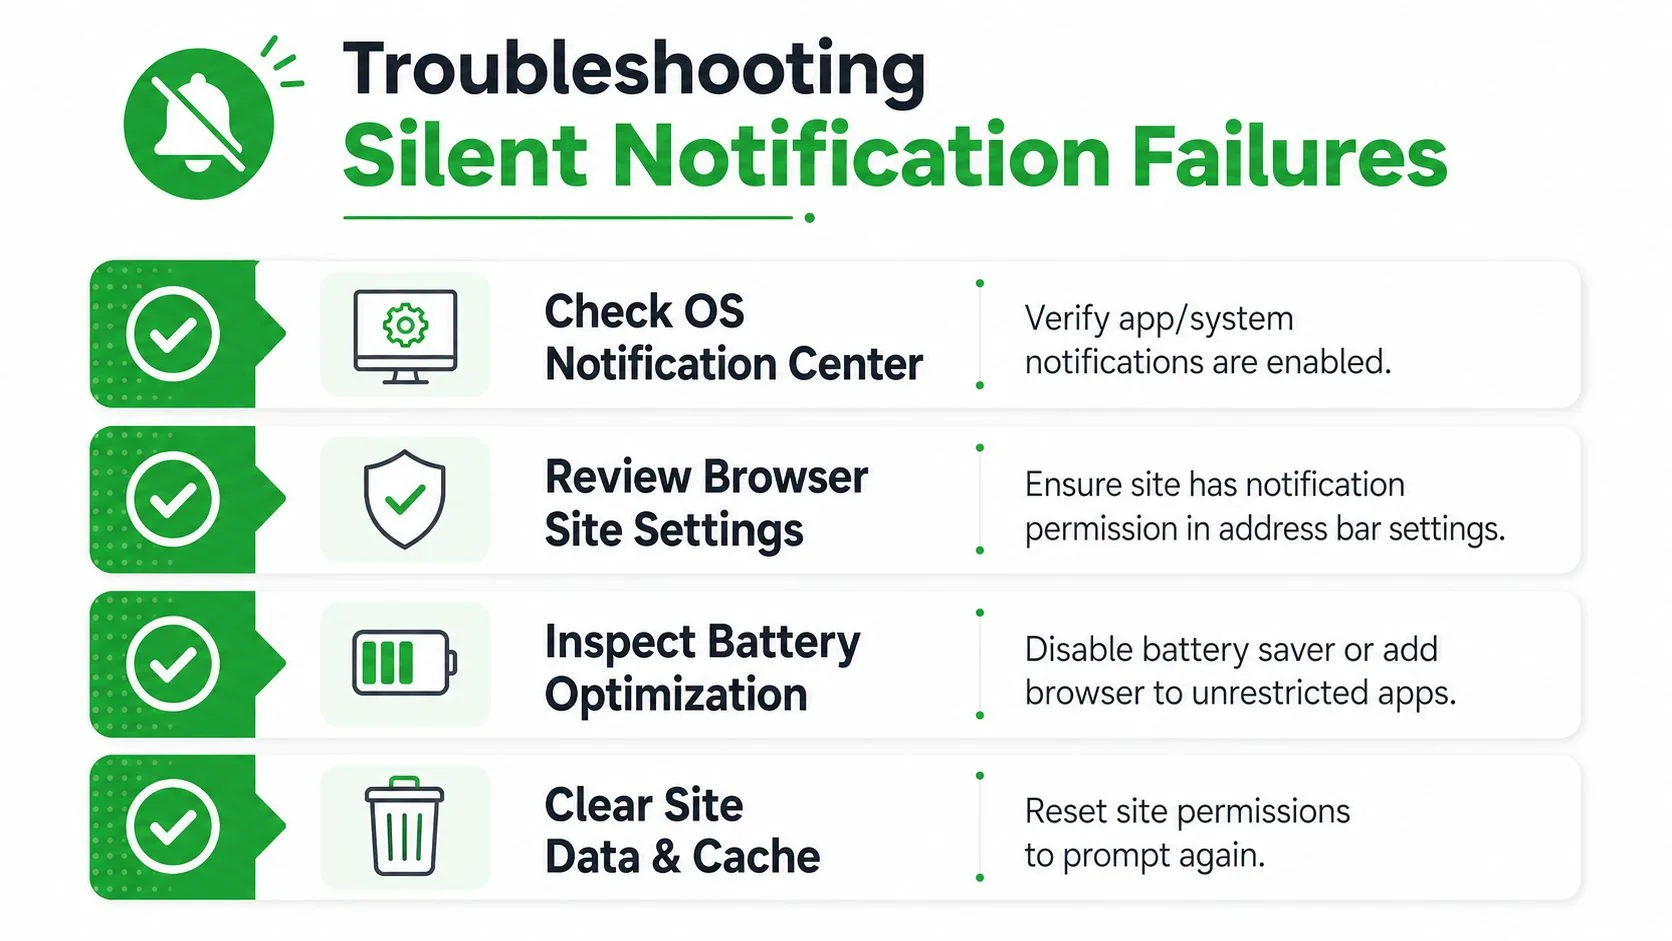
Start with suppression controls
Review these settings in sequence:
- Notification center: Confirm the browser or Gmail app is enabled and that banners, sounds, or notification-center alerts aren’t disabled.
- Focus and Do Not Disturb: Turn off the active mode temporarily or add the browser and Gmail to its allowed apps.
- Battery controls: Disable battery saver for a test, then review unrestricted background access or app sleeping rules.
- Notification channels: Re-enable the specific Android channel used for the alert instead of changing only the master permission.
- Power managers: Samsung, Xiaomi, and other manufacturer interfaces can stop background processes more aggressively than standard Android settings.
- Browser site data: Clear the affected site’s permissions and cache, reload it, and allow notifications again if the saved permission is corrupted.
A stale push token can create a different failure. Services use a device or browser registration token to identify where to deliver an alert, and that token can become outdated after browser profile changes, app updates, reinstalls, or account changes. Signing out, restarting the app, updating it, and reauthorizing notifications can force the service to establish a current registration.
Android 13 and later also require careful review of app notification permission behavior, while iOS users should check Focus, scheduled delivery, and background restrictions. These aren’t defects in the tracking workflow. They’re operating-system decisions that can suppress a valid event after the service has generated it.
Customer.io recommends monitoring delivery rate, open rate, and conversion rate, with delivery rate calculated as delivered divided by sent. Its platform data places average push open rates around 4%, but it also cautions that a low open rate isn’t automatically bad because a user may act directly from the notification without formally opening it, as explained in its push notification metrics guide.
Best Practices for Sales and CRM Users
Sales teams shouldn’t send every tracked event to every device. Route alerts by workflow: high-priority prospect opens can trigger immediate push notifications, while routine activity can stay in a Gmail view, CRM queue, or daily summary. This reduces noise and preserves attention for moments that justify a fast response.
Context matters more than volume. Batch’s 2025 benchmark reported a 14.4% open rate for contextual campaigns versus 4.19% for generic campaigns, a lift of more than three times, in its push CRM benchmark. For tracked-email workflows, context can mean separating active opportunities, recruiting candidates, customer renewals, and cold outreach instead of treating every open as equally urgent.
Use a simple operating loop:
- Prioritize: Notify immediately for messages tied to a live deal or scheduled follow-up.
- Record: Log the open event and response in the CRM without assuming an open means buying intent.
- Respond: Use the alert as a timing cue, then apply judgment before calling or sending another message.
- Review: Compare delivery, opens, and downstream actions to decide which alerts deserve real-time treatment.
Privacy also belongs in the setup decision. A visible tracking signature can make tracking explicit, while an invisible tracker may suit different communication norms and account policies. Choose the option that matches your recipients, internal rules, and consent expectations rather than optimizing only for alert volume.
Mail Tracker for Gmail places read receipts, open counts, timestamps, and real-time open notifications inside Gmail across desktop and mobile workflows. Visit Mail Tracker for Gmail to configure tracked-email alerts, test the full browser and device notification path, and make timely follow-up part of your sales process.
Ready to track your emails?
Add Mail Track for Gmail from the Google Workspace Marketplace and know the moment your emails are opened. Free and unlimited.
Add to GmailMore reading
More from Tutorials
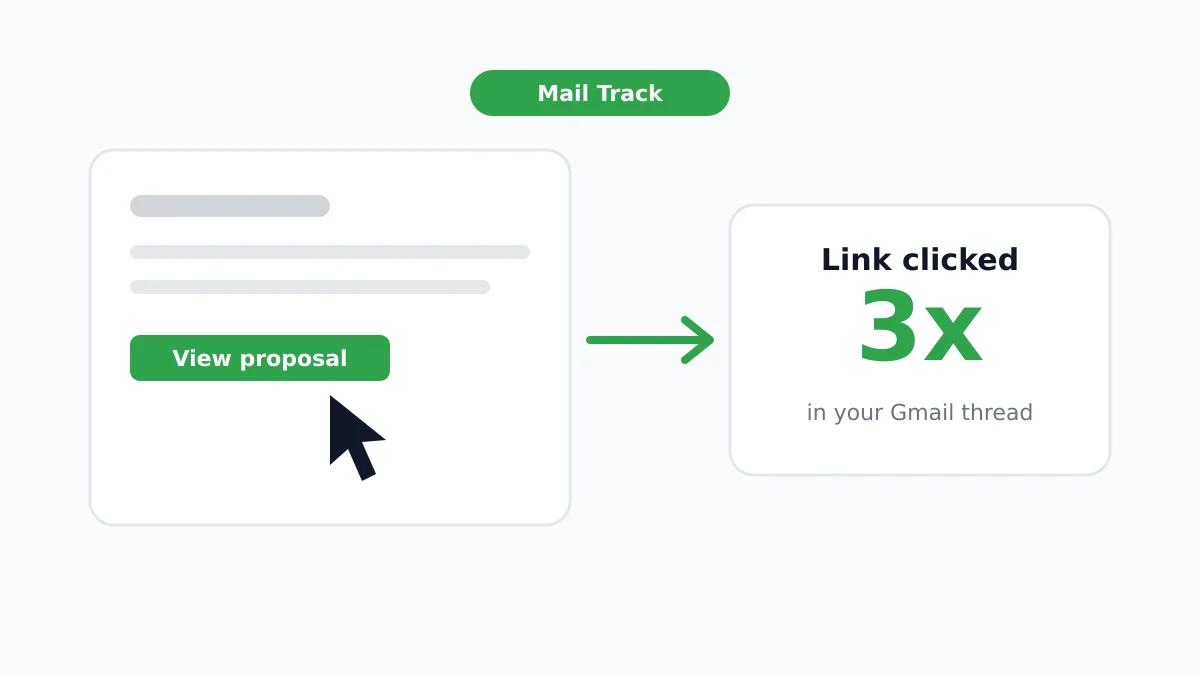
How to Track Link Clicks in Gmail (and What a Click Really Tells You)
Learn how to track link clicks in Gmail, why Gmail does not do it natively, how tracked links work and how to read clicks without being fooled by scanners.
How to Find My Contacts in Gmail: A Practical Guide
Learn how to find my contacts in Gmail on desktop and mobile. Clear steps for Google Contacts, search tips, shortcuts, and contact details from emails.
Objection in Sales Explained and How to Handle It
Learn what objection in sales really means, why it happens, and proven frameworks to handle price, timing and trust objections with confidence.